 CloudEdge App Docs
ANRAN HD WiFi Security Camera Quick Start Guide
Quick start guide for the ANRAN HD WiFi security camera, covering what's included, product overview, app download, mounting, account registration, and step-by-step WiFi pairing through the CloudEdge app.
This quick start guide walks you through setting up the ANRAN HD WiFi security camera with the CloudEdge app, from unboxing and mounting to registering an account and pairing the camera to your WiFi.
This WiFi camera can only connect to a 2.4GHz WiFi signal — it does not support 5GHz WiFi. For more help, see the FAQs.
What's Included
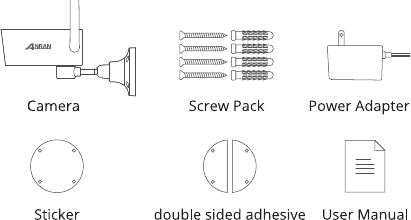
- Camera
- Screw Pack
- Power Adapter
- Sticker
- double sided adhesive
- User Manual
Product Overview
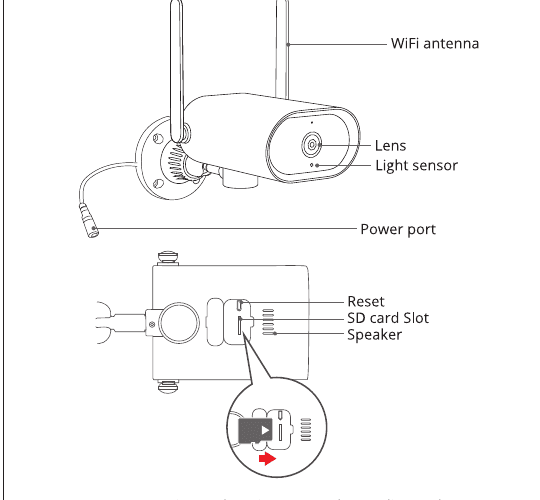
- WiFi antenna
- Lens
- Light sensor
- Power port
- Reset
- SD card Slot
- Speaker
CAUTION: Please insert the Micro SD Card according to the direction shown in the diagram. Micro SD Card might JAM if inserted incorrectly and device could be damaged.
- SD Card Port: Support micro SD card for local storage (Max 128GB).
- Reset button: Used to restore the camera to factory settings (Press and hold on 5-8s).
CloudEdge App Installation and Setup
Download and install the CloudEdge App:
- from Google Play
- from Apple Store
- or Scan the following QR code
Download App (iOS & android).
Mounting the Camera
Select Height and Location
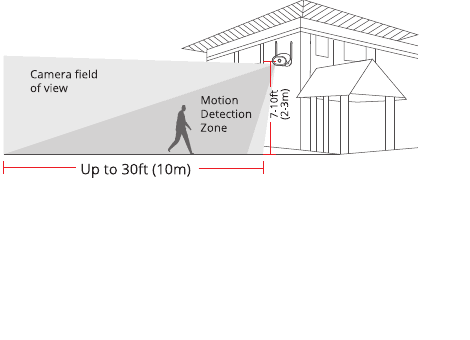
Hang anranCam 7-10 ft (2-3 m) above the ground. This height maximizes the detection range of the motion detection of anranCam. Avoid placing anranCam under direct sunlight.
Test the WiFi signal at installation position
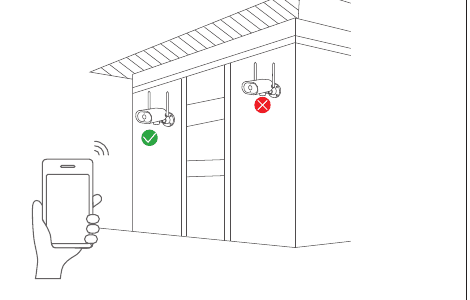
Use cell phone to test WiFi signal quality at the installation position before installing camera, make sure the WiFi router can provide good WiFi signal.
Register an account
Open the APP to sign up an account. Go to the login interface, and click "Sign Up". Sign up with your email address, and click "Next".
Set up a "Nickname" and "Password" for your APP, click "Done" to complete.
Set up WiFi for the camera
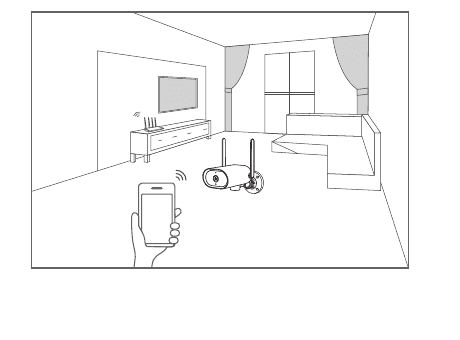
Put both of your mobile phone and camera near the router, and the distance should be within a 5 meters distance.
Note: WiFi camera can only connect to 2.4Ghz WiFi signal. Do not support 5Ghz WiFi. Therefore, it only needs to connect to the WiFi signal of the family in 2.4GHz frequency band for normal use.
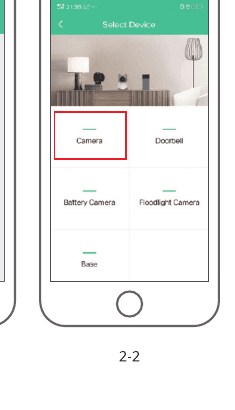
Log in to "CloudEdge", then tap the "+" icon in the center. Tap "Camera" to add device.
Reset the device and wait for a flashing RED indicator light, then tap "Next".
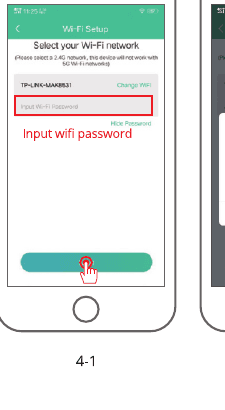
Selecting the Wi-Fi the device needs to connected with (your home Wi-Fi), input the password and click "Next".
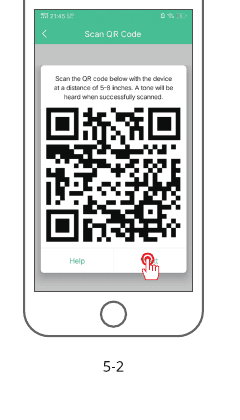
Using the device to scan the QR code on the mobile phone according to the operation the figure shows, then proceed to the next step after hearing the prompt tone.
When connecting, wait for the configuration to complete. Please place the camera & phone close to your router for the best signal.
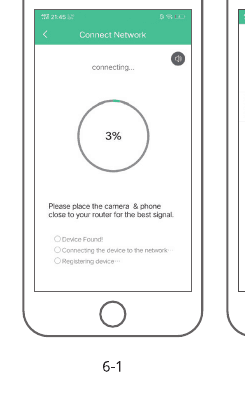
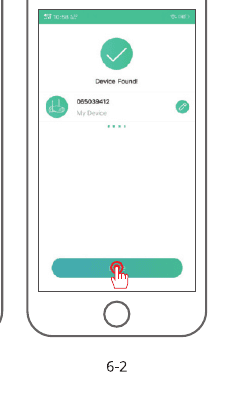
After the network configuration is successful, set the name and password for the device to add successfully; then you can view the camera screen in real time.
FAQ
Q: The device cannot be previewed properly?
A: Check whether the network is normal, you can place the camera close to the router, and if not, it is recommended to reset the device and add it again.
Q: Why is it still in the list of devices after reseting?
A: The reset device only resets the network configuration of the camera, but cannot change the configuration on the App, remove the camera, and must be deleted by the App.
Q: How to cut the camera network to another router?
A: First remove and reset the device on the App and then configure the device again by the App.
Q: Why doesn't the device identify the SD card?
A: It is recommended to plug in SD card after power cut. Confirm whether the SD card is normally available and the format is FAT32. And the TF card can't be identified when the internet environment is not good.
Q: Why I can't get the notifications with my cell phone App?
A: Please confirm that the App has been running on the phone, and the relevant reminder function has been opened; Message notification and authority confirmation in the mobile phone system have been opened.
ANRAN Wireless HD Camera Quick Start Guide
Set up the ANRAN Wireless HD security camera with the CloudEdge app — hardware overview, account registration, Wi-Fi pairing, key functions and FAQ.
CloudEdge Security Camera Quick Start Guide
Quick start guide for a CloudEdge security camera, covering app download and permissions, account registration, and step-by-step device pairing through the CloudEdge app.