CloudEdge App Docs
CloudEdge Security Camera Quick Start Guide
Quick start guide for a CloudEdge security camera, covering app download and permissions, account registration, and step-by-step device pairing through the CloudEdge app.
This quick start guide walks you through setting up a CloudEdge security camera with the CloudEdge app, from downloading the app to adding your camera and using the live view functions.
Before you start to pair the camera to the WiFi, please make sure your smart phone is on a 2.4G WiFi signal. For more help, see the FAQs.
1. Product Instructions
1.1 APP Download and Installation
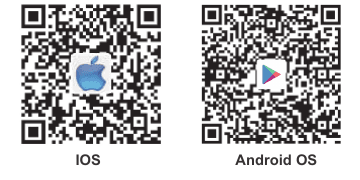
CloudEdge is available for both iOS and Android OS. Search the name 'CloudEdge' in App Store or Google Play, or scan the QR-Code to download the App.
·Support
- IOS
- Android OS
- Download App (iOS & Android)
1.2 APP Permission Settings
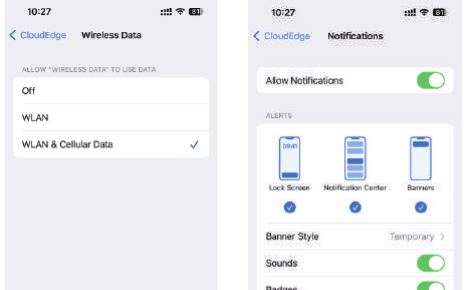
Please turn on the 2 permissions below when you use this APP for the first time. Otherwise, adding the IP camera fails.
- Allow the "CloudEdge" APP to access mobile cellular data and wireless LAN, or it will be failed to add the IP camera.
- Allow the "CloudEdge" APP to receive pushed messages, or the cellphone will not receive alarm push when motion detection or audible alarm is triggered.
2. Accounts Registration
Registration process:
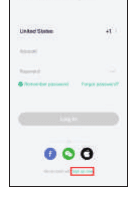
Open the App, click "Sign up now" to register. If you already have an account, click "Log in".
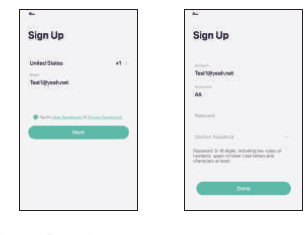
Input a legal Email address and tick the privacy agreement. Then enter the nickname and password.
Notes:
- Please tick "Agree" the "User Agreement and Privacy Policy".
- If the verification code is sent out over time due to network problems, please try again later.
- If you register with a mailbox, please check the verification code in the spam mailbox if you didn't receive it.
Before you start to pair the camera to the WiFi, please make sure your smart phone is on a 2.4G WiFi signal.
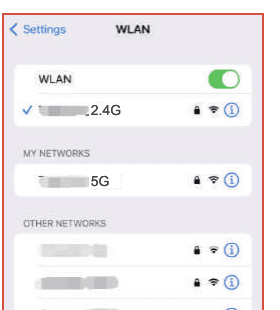
If you can not see the 2.4G signal in the setting of the WLAN, you can turn it on from your router. All routers, no matter 5G or dual channel, come with a 2.4G signal.
3. Device Adding
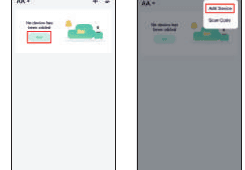
Click "Add Device" or "+", and then select the corresponding camera icon to add.
Select the WiFi network and input the password, and then click "Next".
Note: All routers, contains 5G router comes-with 2.4G signal as well, you just need choose the 2.4G signal during the configuration. No problem for you to switch back to 5G signal on your smart phone after pairing the camera on the app if you want.
Please refer to Q&A if you don't know how to turn on the 2.4G signal from your router.
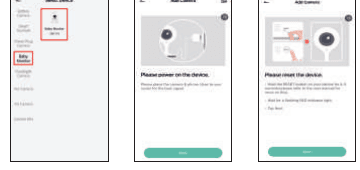
Note:
- Camera only supports 2.4GHz WiFi network.
- The number of bits in the SSID and passwords of the router should not exceed 24 digits.
View the operation instructions of scanning, and then click "Next". Scan the QR code in your phone with the camera and click "Next", when the camera comes out the prompt tone. And you can complete the configuration about 30s.
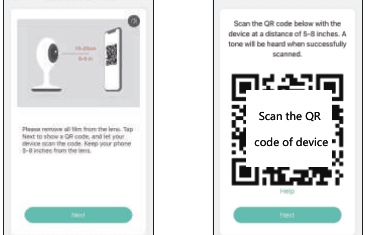
When connecting, you should make sure your router, mobile, and camera are as close as possible.
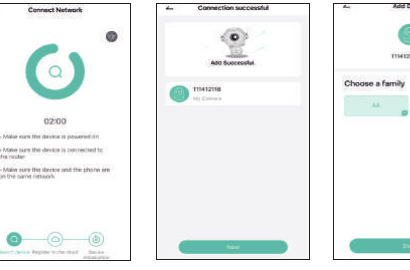
All done. You have added the camera successfully to your phone. Begin to monitor your home.
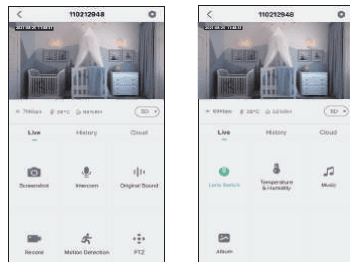
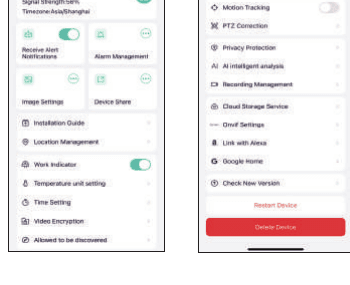
In live view interface, click  , and then you can set up the camera common functions.